Introduction
Git is a powerful version control system that allows developers to track changes, collaborate efficiently, and maintain a structured workflow. One of the fundamental concepts in Git is the staging area, which acts as an intermediary step before committing changes to the repository.
In this blog post, we will dive deep into the staging process in Git, covering the git status command, different ways to add files to the staging area, and understanding the differences between the working directory, the staging area, and the repository.
The Importance of Staging Files
The staging area (also called the index) in Git allows you to prepare and organize changes before finalizing them in a commit. Unlike other version control systems, Git introduces this intermediate step, enabling greater control over what gets included in each commit.
By staging files selectively, you can:
- Commit only specific changes while leaving others unstaged.
- Organize commits logically by grouping related changes together.
- Avoid committing unfinished work by keeping it unstaged.
Checking the Status of Your Files: git status and git status -s
Before adding files to the staging area, it’s important to check the current status of your working directory using:
1. git status
This command provides a detailed report of the state of your files:
git status
It shows:
- Untracked files (files that are not yet being tracked by Git).
- Modified but unstaged files (files that have been changed but not added to the staging area).
- Staged files (files that are ready to be committed).
- Branch information (which branch you are currently on).
Example Output of git status:
On branch main
Untracked files:
  (use "git add <file>..." to include in what will be committed)
	file1.txt
	file2.txt

Changes not staged for commit:
  (use "git add <file>..." to update what will be committed)
	modified:   script.py
2. git status -s (Short Status)
The -s flag provides a concise output, making it easier to quickly scan the status:
git status -s
Example Output of git status -s:
?? file1.txt  # Untracked file
 M script.py  # Modified file but not staged
A  main.css   # Staged file ready for commit
Legend:
??→ Untracked fileM→ Modified but not stagedA→ Staged file (added to index but not yet committed)
Adding Files to the Staging Area
1. Staging a Single File
To stage a single file, use:
git add file1.txt
This moves file1.txt from the working directory to the staging area.
2. Staging Multiple Files
You can stage multiple files at once:
git add file1.txt file2.txt
This adds both file1.txt and file2.txt to the staging area.
3. Staging Files with a Pattern (Wildcard *)
If you want to stage all files of a specific type (e.g., all .txt files), use:
git add *.txt
This will add all text files in the current directory to the staging area.
4. Staging All Changes in the Directory
To stage all modified and untracked files in the current directory:
git add .
This command is useful when you want to add everything quickly, but be cautious—it will also stage any unwanted changes.
Understanding the Git Workflow: Working Directory, Staging Area, and Repository
1. Working Directory
The working directory contains all the files of your project. These files can be:
- Untracked (new files that Git does not know about yet).
- Modified (files that have been changed but not staged).
2. Staging Area (Index)
The staging area is a snapshot of the files that you want to include in your next commit. Files must be explicitly added here using git add. If a file is modified after staging, you must stage it again before committing.
3. Git Repository (Commits History)
Once staged files are committed, they are stored in the repository, forming part of the project’s history. The repository is a secure place where changes are recorded and can be reverted if necessary.
Summary of the Workflow:
- Edit files in the working directory → Make modifications to your project files.
- Stage changes (
git add) → Move specific files to the staging area. - Commit changes (
git commit -m "message") → Save changes permanently in the repository.
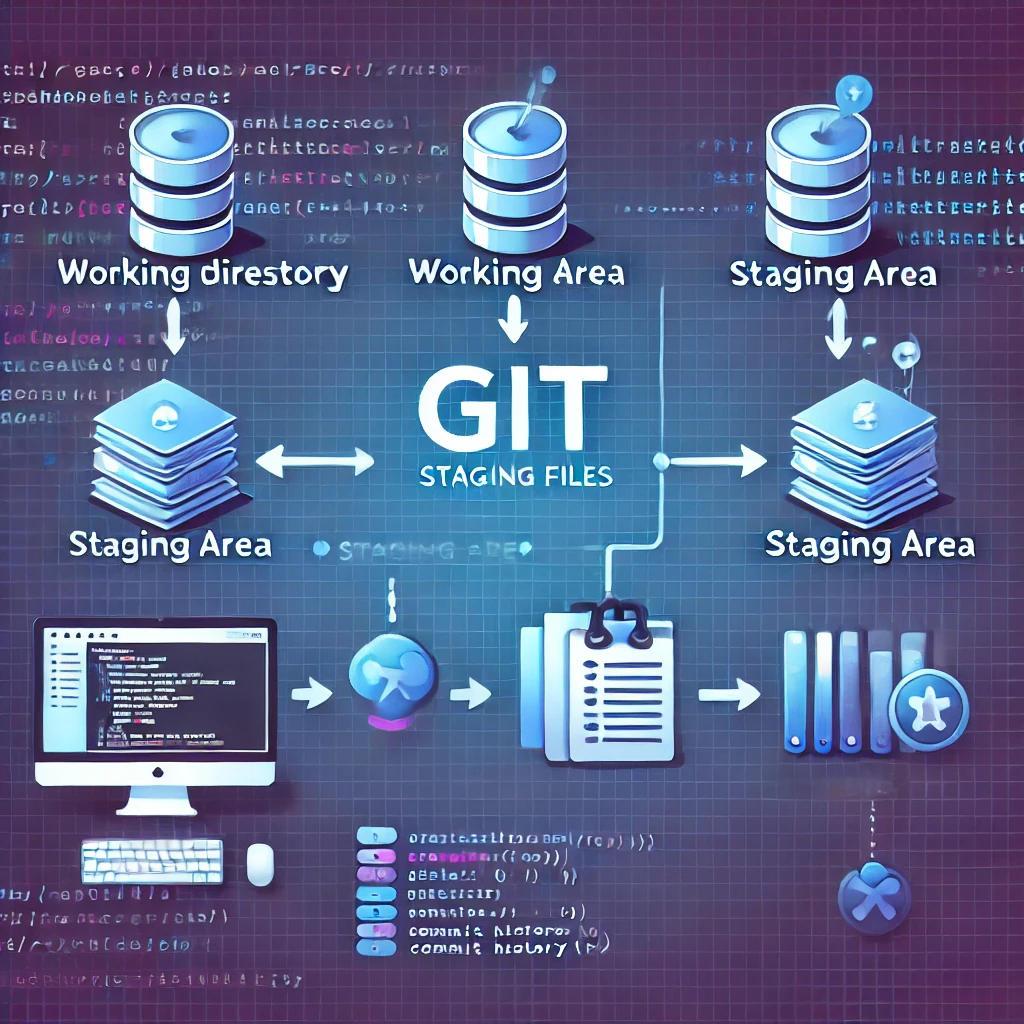
Visual Representation of the Workflow:
[Working Directory] → (git add) → [Staging Area] → (git commit) → [Repository][Working Directory] → (git add) → [Staging Area] → (git commit) → [Repository]
Conclusion
Understanding the Git staging area and how to properly use git add is crucial for managing changes effectively. By using commands like git status, git add, and git commit, you can control which modifications get committed and maintain a clean project history.
Mastering these concepts will help you work more efficiently with Git, ensuring well-structured commits and better collaboration within teams.
🚀 Happy coding!